Creating a Calendar
- Log in to your Control Centre and select the Settings tab.
- Once expanded, select Calendar Settings and click the Add Calendar button.
- Enter the Calendar Name.
- Set the Skin to Newsletter.
- If applicable, provide a brief description of the Calendar.
- Set the time zone.
- If applicable, set the Default Start Date.
Note: The Start Date is what date the Calendar begins to display events from. - Select whether the Calendar is to be for Public of Staff use.
- You have the option of setting an Event Limit.
- Click Save.
Calendar Overlays
If you are using multiple Calendars (example; School Calendar and Assessment Calendar), they can both be displayed together in an Overlay, visible at the link below. For more information, on how to setup and manage an overlay calendar, contact the Support Team.
Sharing your Calendar
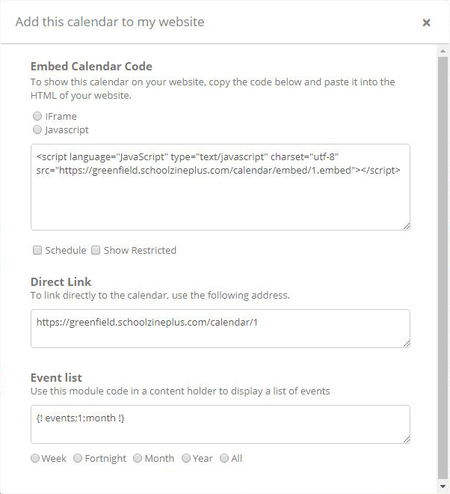
Once your calendar is full of events, you can share it with your community.
- Select the Embed Calendar button
- There are 3 options to choose from:
Adding the calendar to an external website – Use this option if you want to add your calendar onto your non Schoolzine website. Simply copy the code and paste it onto the page of your website that you want it to appear.
Direct Link – Use this if you want to send the calendar out via an email, app notification or Social Media
Event List – Use this if you want to add a list of events to a content holder or article
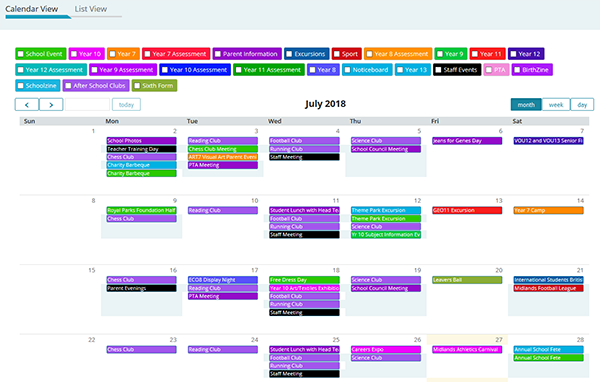
Calendar View
A view of all of your events as they appear in your calendar. From this view you can see a daily, weekly or monthly view of events, see which tags are currently being used in the calendar, and filter the calendar based on specific tags.
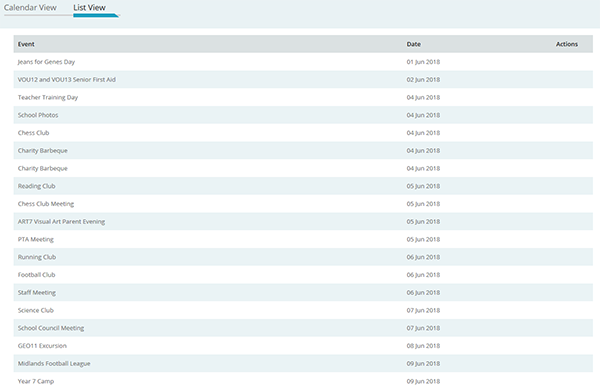
List View
A list of all events within the system, ordered by date.