
The following guide will outline the steps required for submitting content for use in the School Newsletter or Stream.
Submitting content can be done via the Submit Content page located in the Top Menu, Side menu, or SZapp Tile.
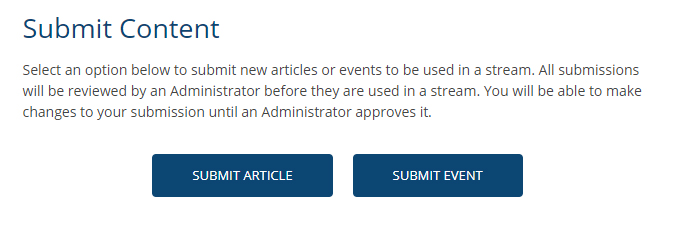
You will be presented with the option for submitting your content as either an Article or Event.
Submit Article:
Example: Use Submit Article for content that is not date specific, or an event that has already occurred.
1. Click the Submit Content button.

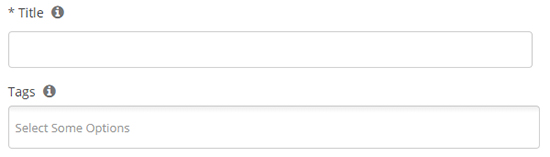
3. Populate a Title for your article and apply any relevant Tags.
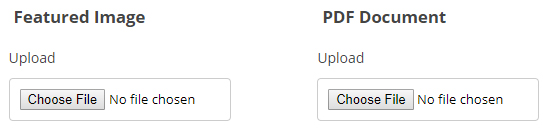
4. Upload a Featured Image for use as a thumbnail on your Article (if desired).
5. Upload a PDF Document (such as a Flyer or Results) applicable to your Article.
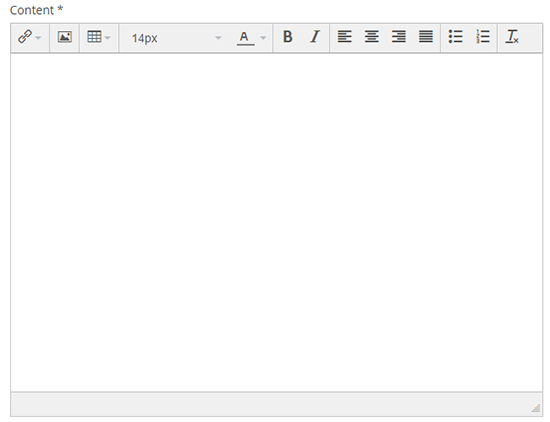
6. Populate your Content using the supplied window, as well as inserting any images, text formatting etc via the toolbar.

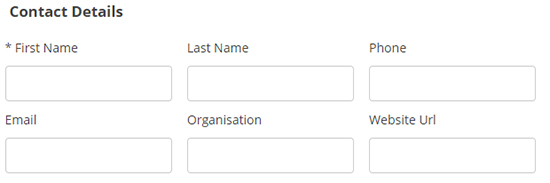
7. Populate the Contact Details with the First Name (and any other desired information) of the person submitting the Article.
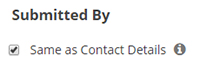
8. You can also populate your own details, should they be different from the Article’s contact details, using the checkbox. This will assist should Administration need to contact you regarding your Article.

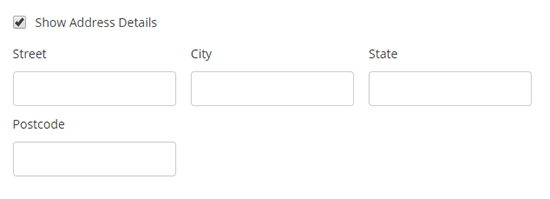
9. If relevant, populate the Address fields by checking the Show Address Details checkbox.

10. Populate any additional Notes to Administrator or simply push Submit. This section allows you to relay any messages you would like to notify the administrator.
Example: Please do not publish this article until January 25th.
Submit Event:
Example: Use the Submit Event for date driven content. Alerting the community of future events, whilst allowing them to sync directly to their device and calendars to make the information readily available.
1. Click the Submit Content button.
2. Select Submit Event.

3. Populate a Title for your article, and apply any relevant Tags.

4. Populate the Event Start Date and Event End Date.
5. If your event does not run All Day, simply untick the checkbox and populate your Start Time and End Time.

Note: if your event doesn’t have a specified End Time, you may wish to just populate a start time as part of your Title.
6. Upload a Featured Image for use as a thumbnail on your Article (if desired).
7. Upload a PDF Document (such as a Flyer or Results) applicable to your Event.

8. Populate your Content using the supplied window as well as inserting any images, text formatting etc via the toolbar.
9. Populate the Contact Details with the First Name (and any other desired information) of the person submitting the Article.

10. You can also populate your own details, should they be different from the Event’s contact details, using the checkbox. This will assist should Administration need to contact you regarding your Event.
11. Populate any additional Notes to Administrator or simply push Submit. This section allows you to relay any messages you would like to notify the administrator.
Example: Please do not publish this event until January 25th.
