
Session Keeper Setup Tutorial
The following process will be used to create a Session in your Schoolzine account. Sessions can be created for things such as Parent Teacher Interviews and Room Bookings.
- Log in to your Control Centre and select the Session Keeper menu tab.
- Select the New Session.
- Select your Session Type.
Staff: Will record only parent details on the bookings.
Student: Will record parent and student details on the bookings.
- Fill in the Description field with any instructions or other information required.
Note: You are also able to populate other media items, hyperlinks, and pictures within this section. - Click Save & Continue.
Staff
Importing Staff
Importing your staff will easily allow you to add multiple staff to your session.
- Open and complete the Staff Template below.
Click here to download the Staff Import Template
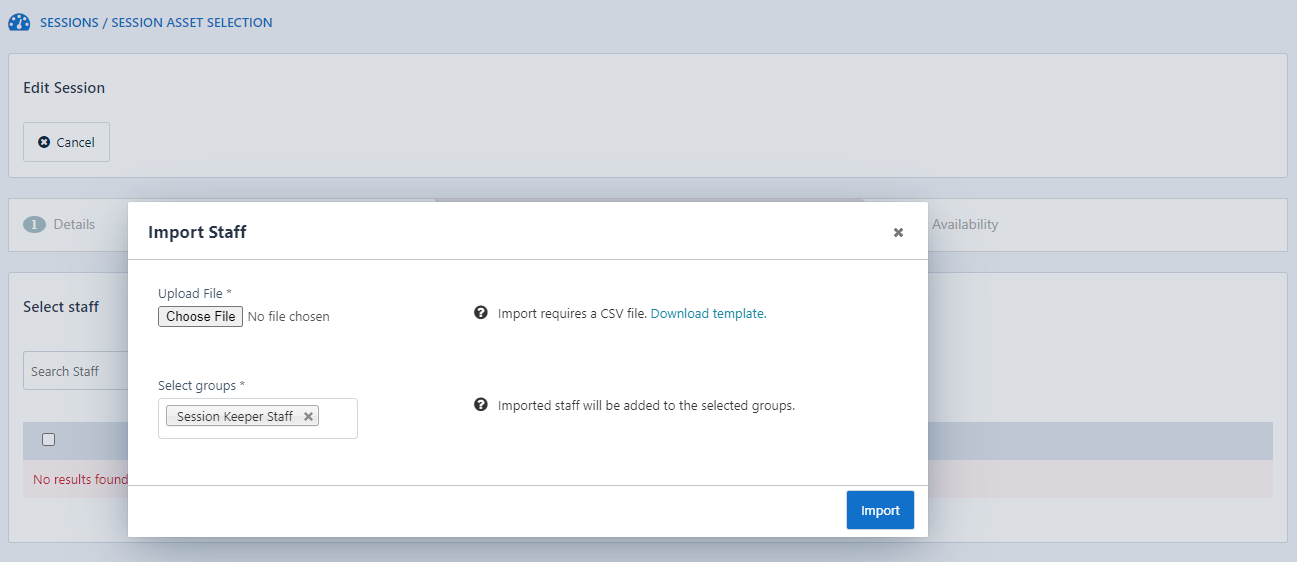
- Navigate to step 2 when creating a session and click Import Staff.
- Browse for your Template and select the Session Keeper Staff group.
- Click Import.
Availability
For this stage you will be creating the available appointments for your selected staff members.
- Select a Start Date and Closing Date for your availability period.
- Select a Start Time and Closing Time for your appointment time slots.
- Populate the appointment Duration.
Note: This field is measured in minutes. - Tick the box next to the staff member(s) you want the appointments to be added to.
- Click Add to Selected.
Note: If you wish to add the appointments to all staff then click Add to all. - Once all appointments have been created, click Save & Continue.
Additional Options
Buffer – Allows you to set a buffer time between each time slot
Location – Option to add a location for a staff member’s appointments
Availability Type – Ability to toggle between available and unavailable time slots for staff
Include Weekends – Ticking this field will allow you to create time slots that occur on Saturday or Sunday.
Adding a Staff Title
- Log in to your Control Centreand select the Session Keeper menu tab.
- Click on the Session Name.
- Navigate to the Availability tab of your session.
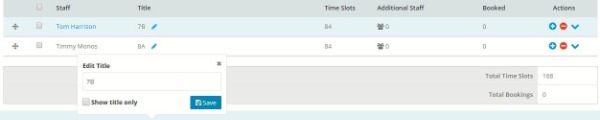
- Find the staff member you wish to add a title to and click the pencil icon in the Title column.
Examples: Class 7B, Year 1A, additional staff names.
Note: Ticking ‘Show title only’ will hide the Staff name. - Click Save.
Sharing your Session
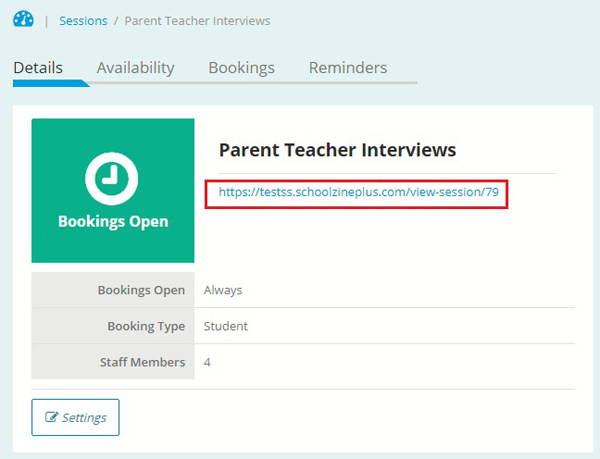
Now that you have completed the setup of your Session, you can send out the Session URL (web address) to your relevant contacts. You can include the Session URL (web address) in a Newsflash, on your website, within the content of your newsletter, as an App Tile, or in the Side Panel of your newsletter.
The Session URL (web address) is located under the session title on the Details tab.
If you’d like assistance with sharing your Session with the community, please feel free to contact the Support Team.