
You are able to edit your Web Form at any time. However, keep in mind that when deleting a ‘field’ from within your Web Form, it will alter all form records.
- Log in to your Control Centre and select the Content menu tab.
- Once expanded, select Web Forms.
- Click on the name of the Web Form you’d like to change and then click Edit.
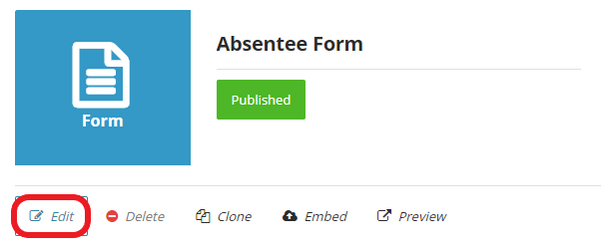
Once you’ve clicked on Edit. Navigate to the Builder tab at the top, where you can begin editing your Web Form.
Next to each of your fields, there are 3 icons that you can use to edit your Web Forms.
![]()
- The pencil icon brings you straight into that specific field to make changes.
- The red delete icon allows you to remove the field completely.
- The square with the four arrows allows you to rearrange the order of the fields.
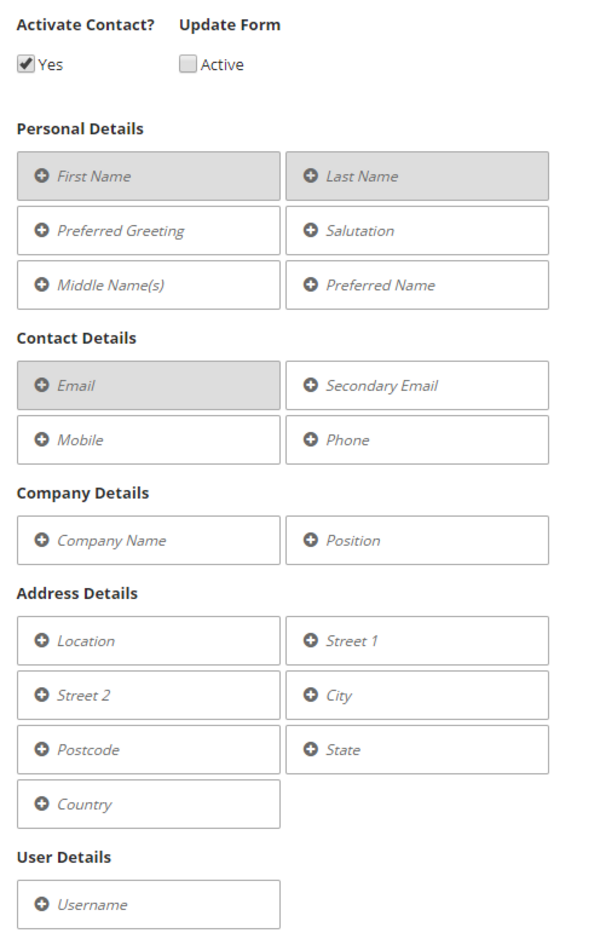
You are also able to add additional fields by navigating to the fields on the right hand side.
Once you are happy with the changes you’ve made to your Web Form, click Save down the bottom right.