The formatting of your newsletter plays a big part in how easy it is to read. To assist you in this, we have put together this guide to help you format your images in a way that best suits the layout of your newsletter.
Below are some examples of a few ways that you can display the images in your newsletter. We have used pixels to indicate the best image sizes for each of these formats. You are able to use the Schoolzine Image Resizer to adjust your images to these sizes.
The maximum width of the Newsletter is 780 Pixels wide, if an image is uploaded that is larger than 780 Pixels wide, then it will automatically be resized to fit within the constraints of the article.
Please note that the sizes outlined below are listed as suggestions for image size, and images can be added as any size, as long as it fits withing the 780 Pixel Width of the Newsletter Article. These suggestions are offered to make the most out of your newsletter design.
Single Image – Landscape Orientation – Centre Alignment
The Maximum width of the Newsletter Articles are 780 Pixels. If you are wanting to include a Single Landscape Orientation Image, then you should aim to resize the images to 550 Pixels for optimal placement within your content. However, Images can be sized up until 780 Pixels if the readability/visibility of the image is questionable.
Single Image – Sized to 550 Pixels
Single Image – Portrait Orientation – Centre Alignment
If you are wanting to include a Single Portrait Orientation Image, then you should aim to resize the images to 400 Pixels for optimal placement within your content.
Portrait Image – Sized to 400 Pixels
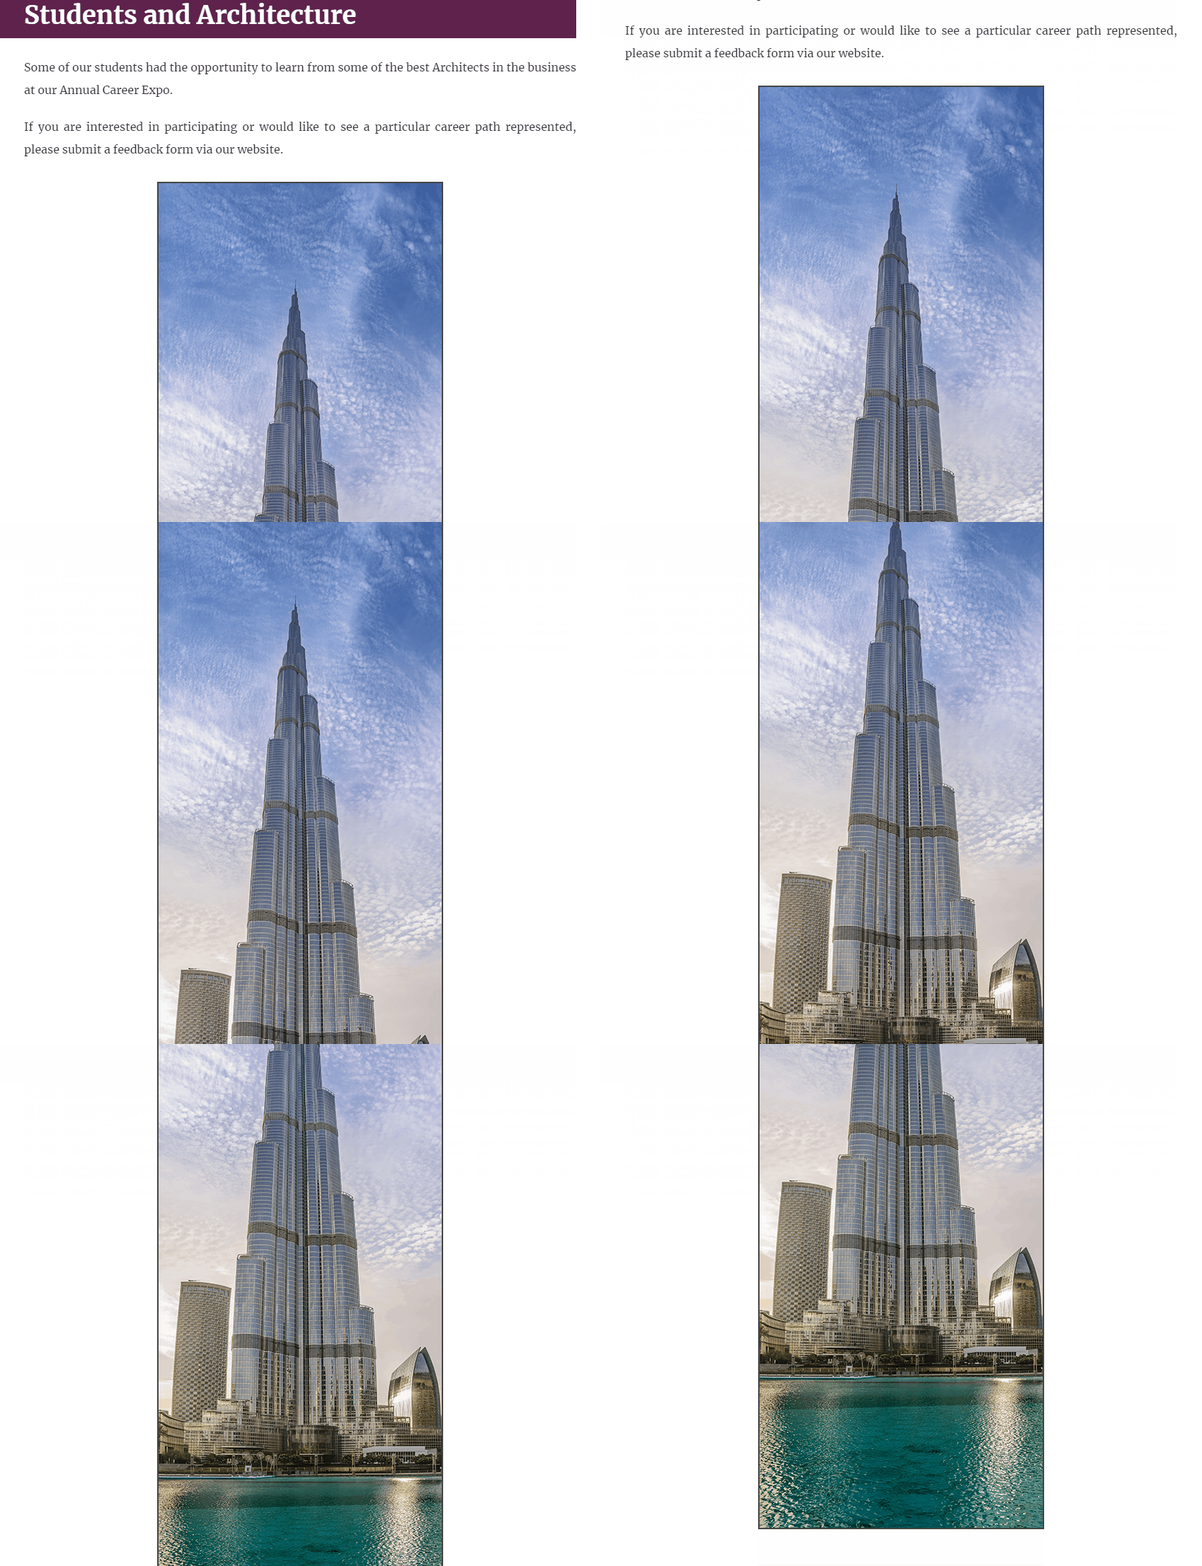
Please note: If the image is particularly tall, then you might want to consider resizing to a smaller size. These images can often take up a lot more space than is recommended due to their unusually large height dimensions. Please see our example below of a tall Portrait Image sized to 400 pixels.
Two Images Centre – Centre Alignment
If you are wanting to include Two Images side by side, then you should aim to resize the images to 265 Pixels Wide, and of Equal Height for optimal placement within your content. However, Images can be sized up until 380 Pixels Wide, and of Equal Height if the readability/visibility of the image is questionable.
Two Images – Sized to 265px width
Image Two Mixed – Centre Alignment
Image Two Mixed refers to any Two Images side by side that are of different orientations. To resize these, you should aim to resize the images accordingly. The Landscape image should be resized to 340 Pixels Wide, and the Portrait image should be resized to 190 Pixels Wide, with the Height of both images made equal.
340px width – 190px width
Image Height Set to 255px height
Image Three Centre – Centre Alignment
If you are wanting to include Three Images side by side, then you should aim to resize the images to 170 Pixels Wide, and of Equal Height for optimal placement within your content. However, images can be sized up until 240 Pixels Wide, and of Equal Height if the readability/visibility of the images is questionable.
Three Separate Images – Sized to 170 Pixels
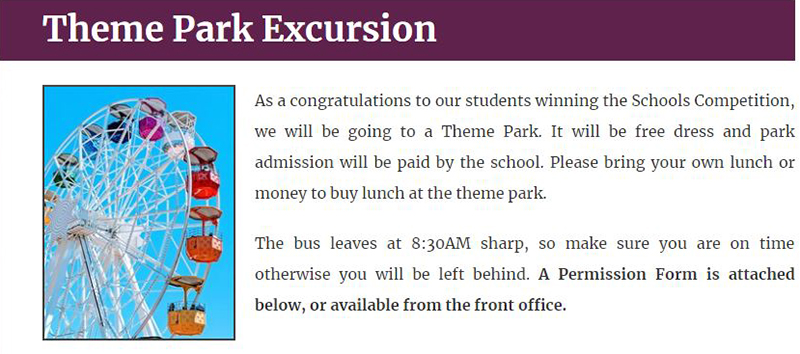
Floated Images
Floated Images refers to any Image that is added to be floated next to article content. The size of these images will vary depending on the type of image you are wanting to include. However typically your floated image should range between 200 Pixels Wide, and 125 Pixels Wide, with the Height of both images made equal.
Some recommended sizing options for floated images are listed below:
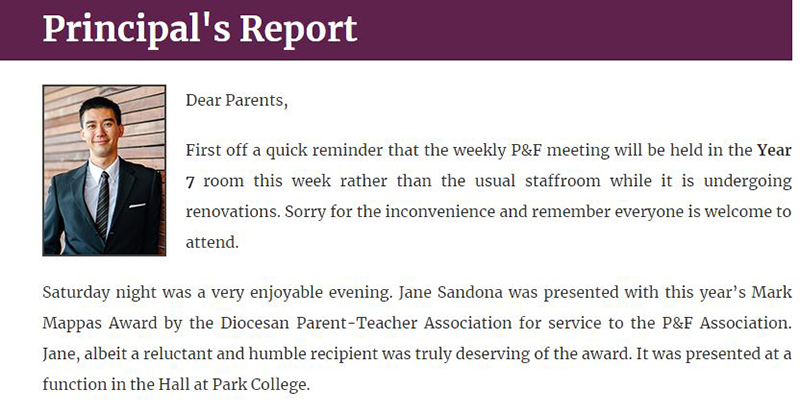
Staff/Face shot Image: 125 Pixels Wide – 175 Pixels High
Logo Image: 150 Pixels Wide
Full Image being made into a Float: 200 Pixels Wide
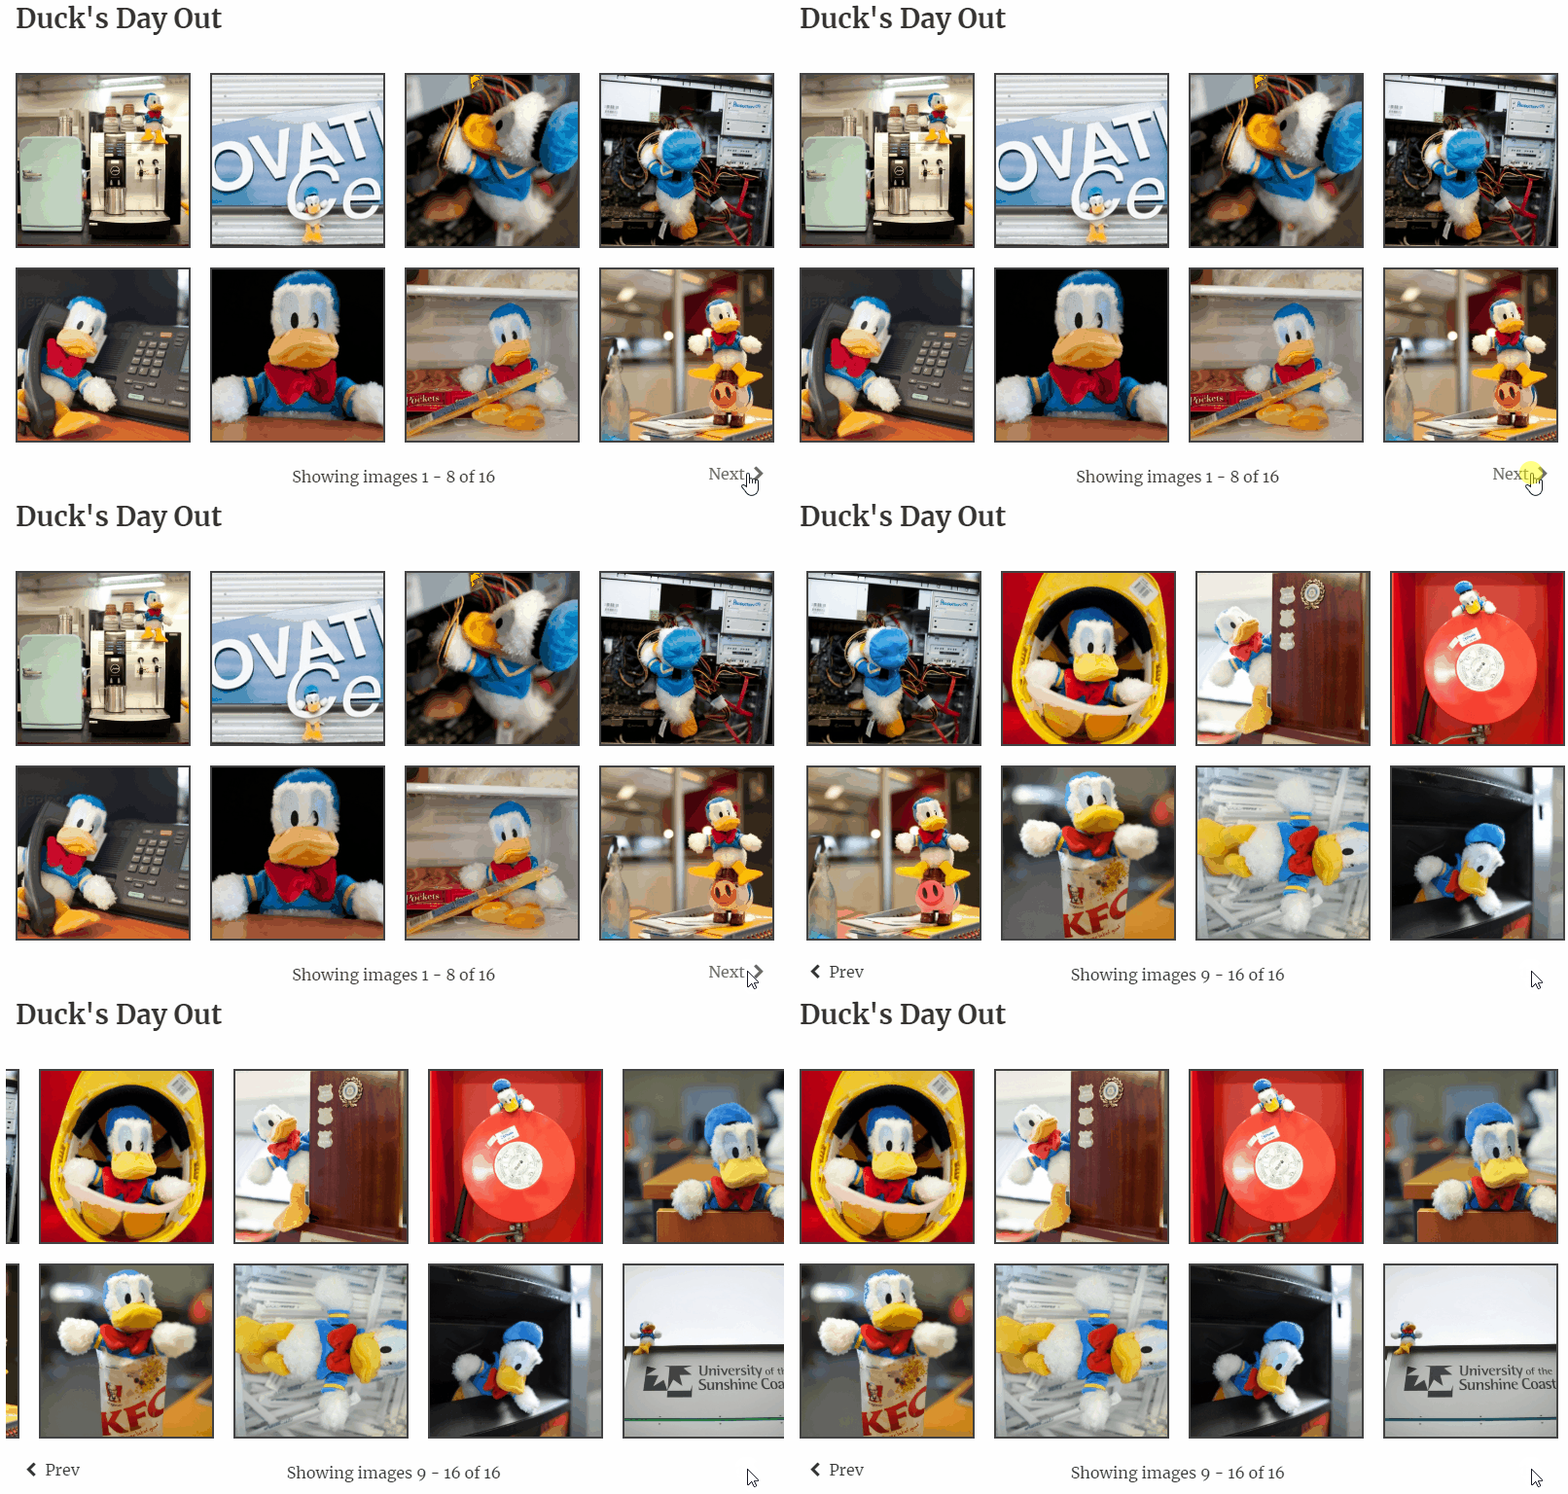
Image Gallery
Image Galleries refer to a group of 4 or more Images added into a single element. Gallery images should be resized to 600 Pixels High. Due to the Gallery Element rendering the preview of these items automatically, the width of the images can be ignored. By sizing to 600 Pixels High, this allows the image to be as large as possible, while having a minimal effect on the load times for your newsletter. The images added to your Gallery will be initially displayed alphabetically. The order of the images can then be further adjusted by editing your Gallery Element, further information on this step can be found at the link below.
Please note: There is no upper limit to the number of images that can be included within a gallery, however the more that is included, the longer it will take your newsletter to render. User discretion is advised.
View the link below for instructions on how to add a gallery.
Click here for the Adding Content to Your eNews Builder Tutorial

