With SZapp, sending communications to your community is simple and quick. Functionality is available to send communications from your Control Centre or from your mobile device. If you do not have SZapp setup and would like more information about this, please contact Schoolzine.
Sending an App Notification from the Control Centre
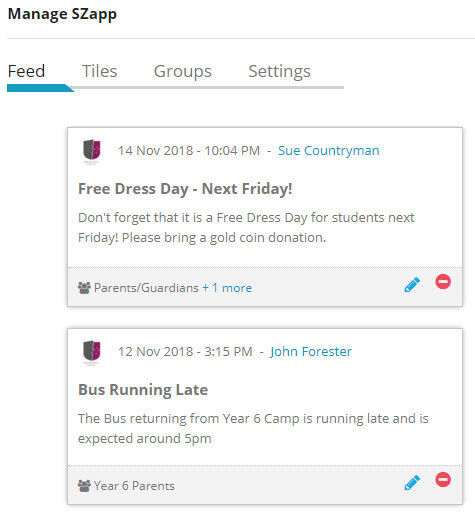
- Log in to your Control Centre and select the Manage SZapp menu tab.
- On the right hand side of the page, type in the Notification Title you would like to apply to your message.
Note: There is a 40 character limit for the title. - If needed, adjust your Send Date and Send Time to postpone the message. Select Next.
Note: If you would like to send straight away, you will not need to adjust these fields. - Populate the content of your SZapp notification using the content window, and applying basic styling and formatting using the toolbar before selecting Next.
Note: Images and attachments can be included in these messages, see below for more information. - Select your groups in the dropdown, or select All to send to all SZapp contacts, then select Next.
- From here, you can review your SZapp notification before you Send.
Should you need to adjust any content, you can navigate Back at any time prior to sending.
Adding Attachments
Adding a File
- Click on the Link button and select Link to Document. Click on the upload button next to Page URL, then select the document you would like to upload.
Note: The ‘Text to display’ field can be used to adjust the wording of the link.
Adding a URL (web address)
- Click on the Link button, select Link to URL and then paste in the required link to the Page URL field.
Adding an Image
- Click on the Image button, select the Upload New icon (with the upwards arrow) and then choose the image that you want to insert.
Note: It is also possible to link an image that you have previously uploaded into your Schoolzine account by using the icon with the magnifying glass.
Handy Hints
- We recommended not uploading files larger in size than 1 MB.
- Clean your text to ensure that your content displays correctly and any hidden characters or symbols are removed. To clean your text, paste it into a program such as Notepad or Wordpad.
- We recommended using a call to action for any files or URLs (web addresses) that you include in your message to avoid your content being missed! eg. “Click here to download” or “Click here to view”.
- You can review which System User published the notification by viewing this information in the top right of the notification.
- The Group/s which a notification was sent to will be displayed at the bottom of the notification in your Control Centre.
Editing an App Notification
- Log in to your Control Centre and select the Manage SZapp menu tab.
- Choose the notification you wish to edit from the list by selecting the Edit pencil icon. Note: If the notification was ONLY sent to the SZapp Channel, you will be able to adjust the recipients.
- Edit the content as required and select Save.
Deleting an App Notification
- Log in to your Control Centre and select the Manage SZapp menu tab.
- Choose the notification you wish to delete from the list by selecting the Red Delete icon, and confirm that you would like to delete the notification in the pop up prompt window.