
Updated Aug 2021

Before uploading your newsletter content, we recommend first reducing the file size of your images by processing them through the Schoolzine Image ReSZizer. This will cut down on the time it takes to upload your files.
You will also be able to adjust the height and width of your images to fit various other features within the Control Centre, such as Side Panels, Emails, Websites and SZapp Notifications.
This software is free and allows you to resize all of your images at the same time.
Installing the ReSZizer
You can install the program by clicking one of the links below. Once downloaded, launch the file and follow the installation steps.
Click here to download the Windows ReSZizer (x64)
Click here to download the Windows ReSZizer (x32)
| PLEASE NOTE: If you are having trouble installing the Image ReSZizer due to administration access permissions, you will need to speak to your I.T. Department. |
Click on the video below to view a video tutorial for installing the Schoolzine Image ReSZizer:
Smart Screen Warning
This should only occur for Windows 10 users, however, upon running the ReSZizer installer, you may be greeted with a “Smart Screen” prompt (see image below). If this occurs, just click more information (if applicable), followed by “Run”.

Processing Your Images
Click on the video below to view a video tutorial on using the Schoolzine Image ReSZizer:
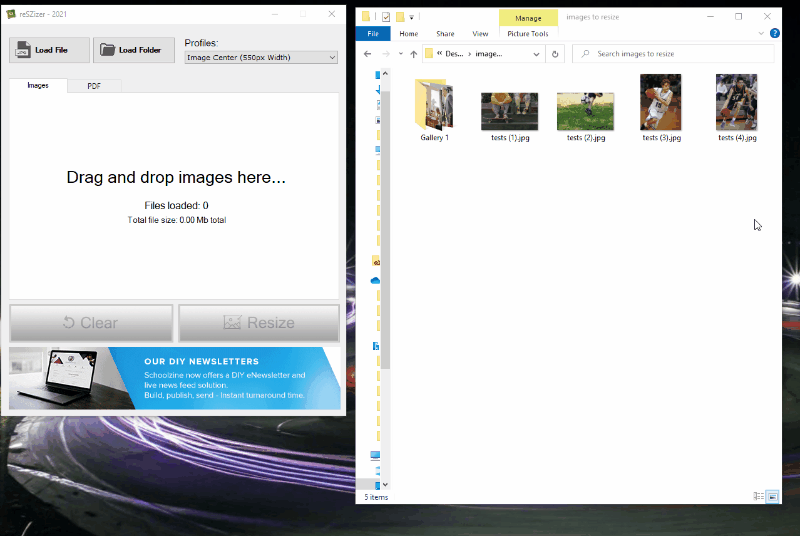
Before you get started, make sure your Images folder contains all relevant image files and galleries.

- Open the ReSZizer application.
- Click and Drag your Images folder into the box labeled Drag and drop images here.
Note: You can also choose the files you wish to resize by clicking the Load File or Load Folder button at the top of the ReSZizer and navigating to your Images folder, then clicking Open. - To resize a single image, or to select images individually, click the Load File button at the top of the ReSZizer.
- Set the Profile to the appropriate setting.
Note: If you’re unsure, set the profile to Image Centre. This is the default setting and perfect for resizing images for your newsletter content. - Click Resize.
Processing Your PDFs
This function is the easiest way to create image files from your PDFs and is perfect for if you’d like a visual to accompany your downloadable file.
- Open the ReSZizer application.
- Select the PDF tab.
- Click and Drag your PDFs into the box labeled Drag and drop PDF’s here.
Note: You can also select your PDFs by clicking the Load File or Load Folder button at the top of the ReSZizer and navigating to your Attachments folder, then clicking Open. - Set the Profile to Convert to JPG (Default width).
- Click Resize.
Profiles
You are able to control what dimensions your images are sized to by assigning a Profile before you click Resize.
Image Profiles
- Profile Photo – 125px width, commonly used for staff photos.
- Logo – 150px width.
- Image Float– 200px width, commonly used for images placed beside text.
- Side Panel – 220px width.
Note: This is the Profile you will set if you are resizing images to fit into the Side Panel of your newsletter. - Image x2 Center – 265px width, commonly used for two landscape images side-by-side.
- Portrait – 400px width, commonly use for portrait orientation images that will be centered.
- Newsflash – 500px width.
Note: This is the Profile you will set if you are resizing images to fit into an Email Newsflash. - Image Center– 550px width.
Note: This is the Profile that you will set if you are resizing images to fit into the content of your newsletter. - Gallery – 600px height.
- Design – 2000px width, can be used to compress files before sending to the Design Team.
PDF Profiles
- Convert to Jpeg (Default Width) – Converts the document to an image using the dimensions of the PDF
- Convert to Jpeg (600px Width) – Converts the document to an image and then scales it to Flyer size
For more information on the best profiles to apply to your images for resizing, see the guide below:
Images Showing as Wrong Orientation
Images contain certain background information known as Meta-Data that control varying aspects of the image, such as Size, Rotation, Preview Text, etc. Both your Desktop Computer and online platforms such as the Schoolzine Control Centre can interpret this background Meta-Data in different ways. This can lead to images being the correct orientation on your desktop computer but display incorrectly once uploaded online.
How can I resolve this?
You can use the Schoolzine Image Resizer to reset the Meta-Data of your images. Simply make sure they are the correct orientation on your Desktop Computer, then run them through the Schoolzine Image Resizer. Even if your images have been resized previously, this will reset the Meta-Data to the correct Orientation.
I have used the Schoolzine Resizer to reset the Meta-Data, but the images are still the wrong orientation.
Occasionally the Meta-Data can be locked onto the image and the Schoolzine Image Resizer is unable to reset it correctly. To resolve this you can follow the below steps:
- Add the image into some sort of image editing software
(ie Adobe Photoshop, Microsoft Paint, etc) - Rotate the image to the incorrect orientation
- Save the image
- Rotate the image back to the correct orientation
- Save the image
This should Hard Reset the Meta-Data on the Image and set the Orientation to the Correct Orientation.