In order for members of your community to receive the newsletter via email, they will need to be subscribed. Individuals can be encouraged to subscribe themselves using the Subscribe Web Form or you can add them yourself. If you have a lot of new contacts, we recommend that you import a database.
Subscribing via the Web Form
The easiest way to subscribe an individual contact is through your newsletter. Your community can also subscribe themselves using this method.
- Access your newsletter and select Subscribe to Newsletter from the menu.
- Fill in the First Name. When your newsletter is distributed, this field will be targeted to address the contact in their email.
- Fill in the Last Name. This is helpful for refining searches for contacts.
- Fill in the Email field.
- If you have the SMS communication channel enabled in your account, you can enter the contact’s phone number in the Mobile Phone field.
Note: You are able to enter this information even if SMS is not enabled. If the feature is enabled later, your information will still be stored. - If you would like contacts to be added to a specific group, select the preferred Subscriber Type/s from the list.
Note: You can create custom groups to allow for targeted communication, and then add them to the Web Form. - Tick the I’m not a robot verification box.
Note: The reCAPTCHA is a security feature used to prevent your database being filled with Spam. - Submit the form to subscribe the contact.
Subscribing via the Control Centre
It is also possible for you to subscribe an individual contact to your database via the Control Centre.
- Log in to your Control Centre and select the Contacts menu tab.
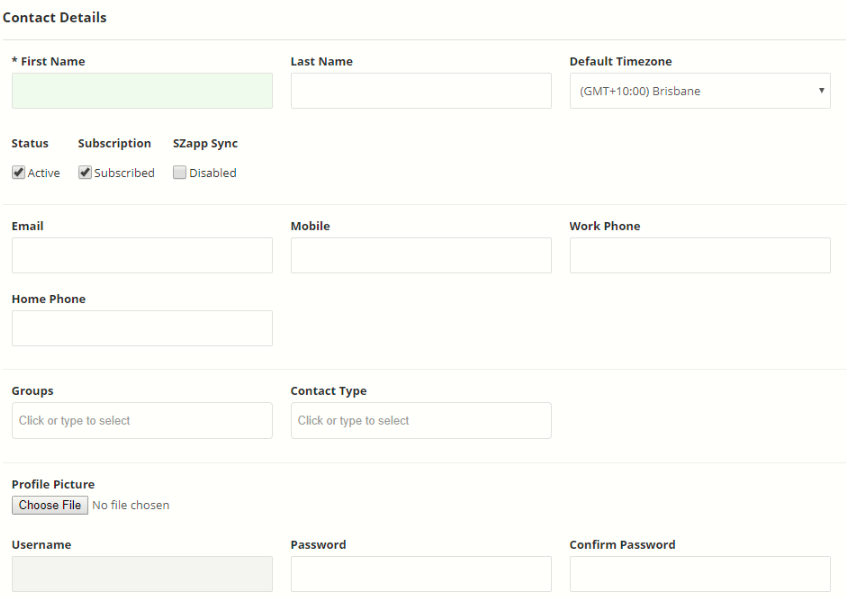
- Click the New Contact button at the top of the page.
- Fill in the First Name. When your newsletter is distributed, this field will be targeted to address the contact in their email.
- Fill in the Last Name. This is helpful for refining searches for contacts.
- Fill in the Email. If the email already exists, when you attempt to save, the page will display a message with a link to the existing user.
- If you have the SMS communication channel is enabled in your account, you can enter the contact’s phone number in the Mobile field.
Note: You are able to enter this information even if SMS is not enabled. If the feature is enabled later, your information will still be stored. - If you would like contacts to be added to a specific group, select the preferred Group from the list.
Note: You can create custom groups to allow for targeted communication. - Save the contact to subscribe them.