Adding an App Tile
- Log in to your Control Centre and select the Manage SZapp menu tab.
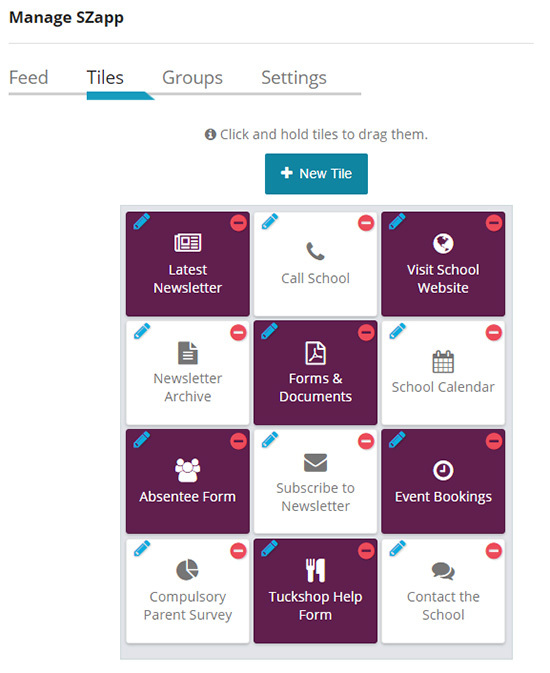
- Select the Tiles Tab and click New Tile.
- Populate the Page Title, App Icon and URL (web address) Fields.
Note: Colouring can also be applied in this interface. - Click Save.
- The page will then refresh to confirm your changes.
Linking an Existing Web Page
- Log into your Control Centre and select the Manage SZapp menu tab.
- Select the Tiles tab.
- Select New Tile.
- Select Add Existing Page.
- Search and select the desired Page to link.
- Press the Add button.
Removing an App Tile
- Log in to your Control Centre and select the Manage SZapp menu tab.
- Select the Tiles Tab.
- Select the Red Remove icon on the Tile/s from the grid that you would like to remove from your SZapp.
- The page will then refresh to confirm your changes.
Adjusting Tile Order
- Log in to your Control Centre and select the Manage SZapp menu tab.
- Select the Tiles Tab.
- Click and hold on the tile to adjust it’s order on the grid.
Applying Colours to a Tile
- Log in to your Control Centre and select the Manage SZapp menu tab. Select the Tiles Tab.
- Select the Pencil icon on the Tile from the grid that you would like to apply the colour to.
- Click in the Background colour and/or Text Colour field to select a colour.
- Select Save to confirm your changes for that Tile.