
The updated 2020 templates allows you the option of updating your own Website Slider with new images and videos via the Control Centre.
To make updates to your Slider, follow the steps below:
PLEASE NOTE: If you are using our Legacy templates, you will still need to contact Schoolzine to update these images.
- Login to your Control Centre and select the Content menu tab.
- Once expanded, select Media Library.
- Select and drag your file into the Quick Add box at the top of the screen.
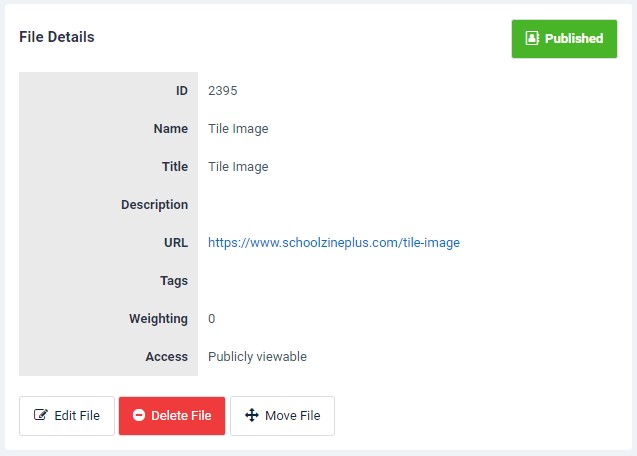
- Once it has finished uploading, click the Name of the file to view the File Details.
- Copy the URL.
- Select the Content menu tab.
- Once expanded, select Content Holders.
- Select the Show all tags drop down box, and filter by the Slider Image tag.
Note: There will be one Content Holder created for each slide. - Select the Name of the Slider Image you would like to update.
- Select Edit Holder.
- Paste your Media Library URL into the field titled Background Image URL.
- Click Save.
Handy Hints
To ensure your slider images will display correctly online, it is important to consider the dimensions of your images when selecting them for use in your website. These dimensions will vary depending on your chosen template.
Note: We always recommend using large landscape images for your slider.
Template One
These images will be resized automatically to fit.
Template Two
This template does not include a website slider.
Template Three
The default dimensions of this slider are 1903px by 937px.
Template Four
The default dimensions of this slider are 1903px by 837px.
Creating a New Slider Image
If you would like to add an additional image to the slider, you can do this by following these steps:
- Select the Content menu tab.
- Once expanded, select Content Holders and click the New Content Holder button.
- Complete the Name and Title fields for your Content Holder.
Note: This should be something like Slider 4, Slider 5, etc, depending on the number of slides that already exist. This will make it much easier to update later. - In the tag field, click and select the Slider Image tag to apply it.
- Replicate the steps above to add your Media Library URL into the Background Image URL field at the bottom of your Content Holder.
Linking a Video to the Website Slider
The process for linking a video to your slider is much the same as is mentioned above in the ‘Updating the Website Slider’ section, however there are a few things to note to ensure your website is performing as best it can:
- Your video should be kept short. Large video files can take time to load, and this can cause your slider to transition before the video has had a chance to play.
- If your video file size is quite large, try compressing the file before it’s uploaded to your Media Library.
Note: If you are still having trouble uploading your file, contact the Support Team for assistance.
To link your video to the Slider, follow these steps:
- Login to your Control Centre and select the Content menu tab.
- Once expanded, select Media Library.
- Select and drag your video file into the Quick Add box at the top of the screen.
- Once it has finished uploading, click the Name of the file to view the File Details.
- Copy the URL.
- Select the Content menu tab.
- Once expanded, select Content Holders and click the New Content Holder button.
- Complete the Name and Title fields for your Content Holder.
Note: This should be something like Slider Video, to make identifying the slide easier later should you need to update it. - In the tag field, click and select the Slider Image tag to apply it.
- Under Website Tile Settings, paste the URL for your file in the Background Image URL field.
- Make sure that under Display Options, you have ticked Is Video.
- Click Save.